Matthew Harrison - Dec 23 2017
3D Printed Topography

I recently discovered that it's possible to 3D print topography. By doing this, you can have a small model of a mountain range or any area around the world that you'd like! I can picture this being very useful as a teaching aid or possibly for planning a trek. It also serves as a great example of the millions of useful things that you can 3D print. Here's the end result:

There are only two main steps to the process that I've outlined below: finding the topography data and then converting it into a 3D model.
Finding topography data
The website that I use to gather topography data is called terrain.party. It allows you to select a zone from anywhere in the world and conveniently provides the data as an image, which is perfect for our use.
Head over to the website and click the search icon in the top left corner. Type in your location or mountain and the website will move the selection zone to that area.

You can then click and drag to move the selection zone around as you would like to. Use the plus and minus icons on the right side to adjust the size of the selection zone. Keep in mind that bigger areas will take a longer time to download.
Click the download button to download the topography data for this area. If you unzip the downloaded file, you will see that there are four different images there. The one that we will be using is the "[location] Height Map (Merged)" file.

Converting to a 3D Model
The next step is to somehow convert this height map image to a 3D model. Some of the guides on this topic that I've seen follow a complicated process in Blender creating a plane and using the height map as a modifier. Instead of that, we'll be using the lithophane creation feature in Cura. The reason I suggest Cura rather than 3dp.rocks is I've found that Cura produces much smoother models. See the image below as a comparison:

Unless Cura is your regular slicer, you can still export the model and use your preferred slicer after this. Open up Cura and drag and drop the image into the work space. You will be prompted with this menu:

The settings are fairly self explanatory. The higher you set the height, the more pronounced the terrain will be. If you'd like it to be a perfectly scaled model, there's more on that below. Ensure that "Lighter is higher" is selected and leave the smoothing setting as is. I would recommend to set the base to 2 × number of perimeters × perimeter extrusion width as a minimum. This is so that when we print the model upright, the thinnest point will still be thick enough for all your perimeters to fit.
Click ok and Cura will process the image and generate your model. You can save it as an STL by clicking File > Save As.
Realistic Scaling
To work out how high the model should be, we need to find a ratio of elevation (Z axis) to width (X/Y axis) of the selected zone in terrain.party. Fortunately all the information that we need to do this is provided to us. The width is the number of kilometres that you chose in the selection size adjustment on the terrain.party website. It can be seen between the plus and minus buttons on the right hand side. In my case this was 22 kilometres, or 22000 metres.
The elevation information can be found in the README file that is included in the folder from terrain.party. Under the heading "Elevation Adjustment" it will say something like "The original elevation models for this area contained elevations ranging from 419 through 1903 meters", but the numbers will be different. Use your own numbers for the calculations below.
In my case there is an elevation range of 1903 - 419 = 1484 metres. Therefore the elevation to width ratio is 1484 / 22000 = 0.06745.So for any given width of my model, the height would be width × 0.06745. For example a model 120mm wide would be 8mm high. Use this method to create real-life scaled models. They won't look as interesting but it will be an accurate representation of the real topography.
Slicing Tips
The reason that you should print the model upright on one of the edges is so that the terrain resolution is not determined by your layer height. If it is printed flat, you'll end up with a stepped appearance. See the image below for an illustration:

Print at a fine layer height for the best results. I do mine at 0.1mm and the layers are completely invisible to the bare eye.I hope this guide has been helpful! If you have any questions, please let me know in the comments.
More resources for you

E3D V6 Assembly Guide Poster
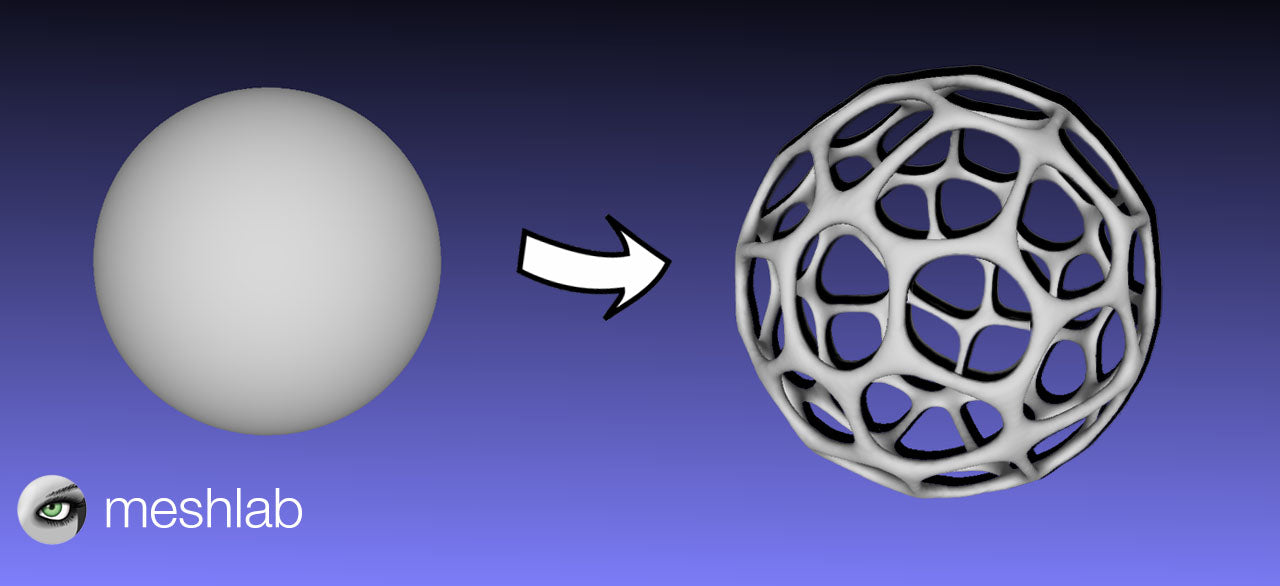
How To Create a Voronoi Sphere in MeshLab