Matthew Harrison - Feb 24 2018
Orientating Parts in Meshmixer
Some parts are more difficult to orientate than others - and some even need special tools to make them sit perfectly flat. In this guide I'll walk through how to use Meshmixer to set a particular surface of a design to sit flat on your print bed. You can also find written instructions below.
Often when you download a file off the internet or it's sent you from a designer, it'll import into your slicing software in the wrong orientation. Usually that's just a simple matter of rotating by 90 or 180 degrees, but it's a lot more difficult with parts like this:

Even rotating in 1 degree increments, it's usually impossible to get it perfectly flat. That's when you need a tool in software to allow you to select a particular face that lays flat on the bed. Simplify 3D has this feature, and Windows 3D builder has the "settle" feature that works in a similar way, but if you're on a Mac or just want to know how to do it in Meshmixer, here's how!
The first step is to import the STL file into Meshmixer, and click Edit > Create Pivot. This will bring up the dialog box seen below:

A pivot in Meshmixer is just a point in 3D space that you can use as a reference for other tools, like plane cut. In this example though, we'll be using it later on in the align tool.
Ensure that the placement mode is set to Bounding Box and then click anywhere on the model. This will place a point right in the middle of the space that the model occupies. Then click the drop pivot button.
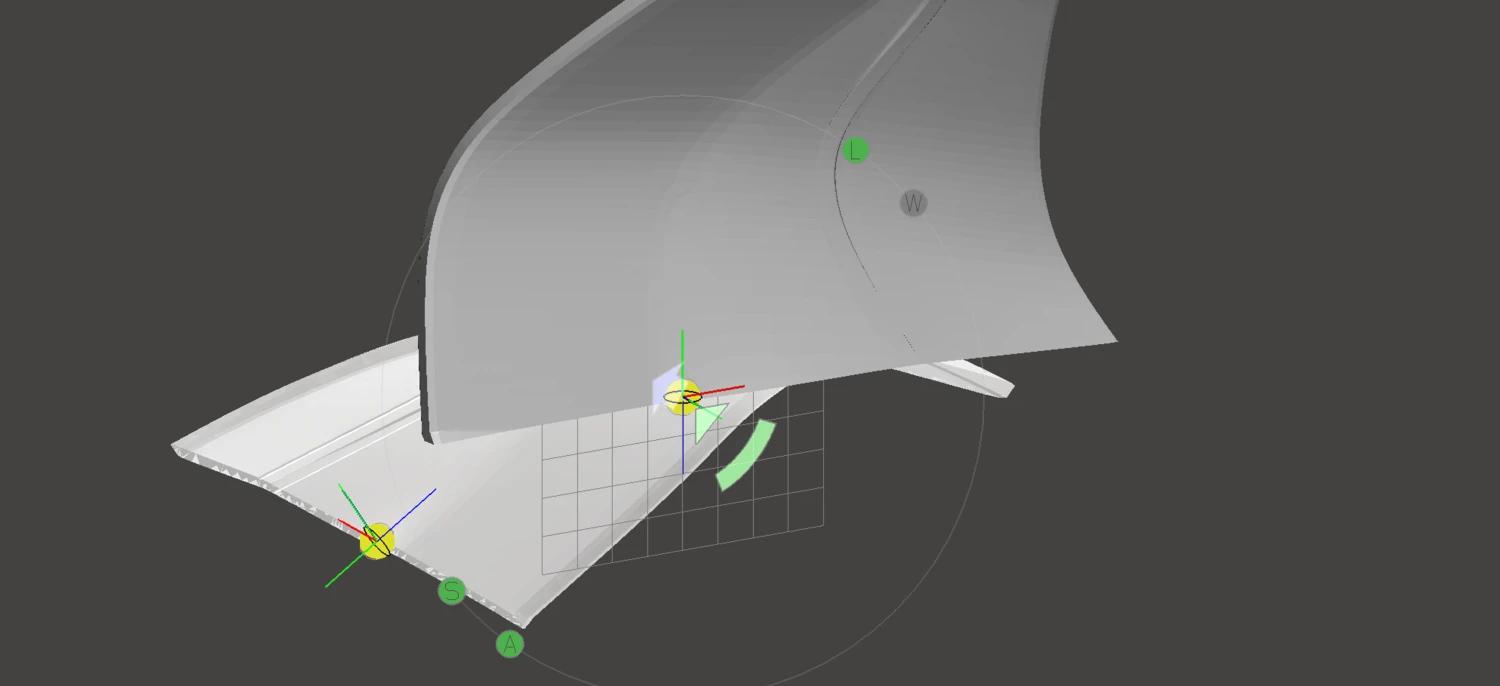
Before you click done, we're going to place one more pivot. Set the placement mode to Snap To Face Center, and then click anywhere on the face that you would like to be flat on the bottom. Again, click drop pivot and then click done. Below you can see the two pivots that I've dropped for this model. The one on the left hand side is the face that I would like to be on the bottom.

Now that we have our two reference points, all that's left to do is use the align tool. Click Edit > Align. First, click the second pivot that you dropped. That's the one on the face that you would like to be on the bottom. Then, hold shift and click the first pivot that you dropped. It should show you a preview with the part correctly orientated the way that you'd like it to be.

Then all you need to do is click the accept button in the align dialog! You can now export your STL file and it will load into your slicing software in that same orientation.
I hope you found this guide useful. If so, please consider subscribing to my YouTube channel for project videos and tutorials like this! Feel free to comment if you had any issues or if you'd like any help.
More resources for you

E3D V6 Assembly Guide Poster
How To Create a Voronoi Sphere in MeshLab
1 comment
Hey this is fantastic. for such a simple concept, no good software has an easy way to do this and your tutorial helped me out immensely. Thanks!