Matthew Harrison - Nov 14 2020
How To Create a Voronoi Sphere in MeshLab
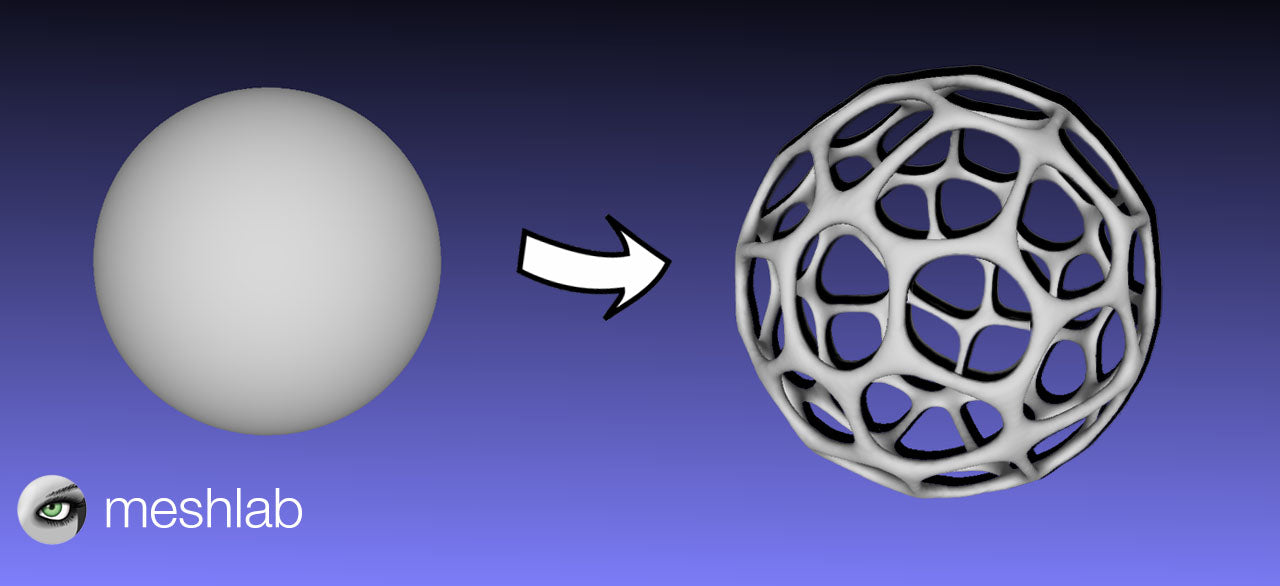
Have you ever seen those amazing 3D printed voronoi structures and wondered if you can do it yourself? In this video and blog post, I'll walk you through how to do exactly that with just a few simple steps. We'll be taking advantage of the many extremely powerful tools available within MeshLab - it really makes it a breeze.
MeshLab is an extremely powerful mesh manipulation tool with a lot of advanced capabilities. For this tutorial, we'll be using only a few, but hopefully it will give you an idea of the huge range of applications that this software can have.
The first step is going to be to head over to the MeshLab website and download and install it on your computer. Once you've done that and opened it up, you'll be met with this user interface:

The process
In order to make a voronoi sphere, we're going to need a plain old regular sphere mesh to start with. This can be generated right within the software under Filters > Create New Mesh Layer > Sphere. When prompted, keep the radius setting at 1 and set the subdivision level to 6. This ensures that we have enough triangles in our sphere mesh to work with in the later stages. After that, you should have a sphere plonked right in the middle of your workspace!

As you can see, this has also opened up a panel on the right hand side of our screen. Our current and only layer, the sphere, is highlighted in yellow. Below that we have some display and shading options, and at the bottom is an output window.
Now to use our first filter. A filter in MeshLab is any operation performed on the mesh. This could be a selection of certain faces and vertices, applying a colour to the mesh, smoothing, remeshing, resampling.. etc. There's a lot, but I'm sure you get the idea.
The filter we're using is called Poisson-disk Sampling, and can be found under Filters > Sampling > Poisson-disk Sampling. What this does is create a new mesh layer, populated with a random set of points from our initial mesh. The points are at least a minimum distance apart, ensuring that we get a somewhat uniform distribution.
In the pop up window, you can define how many points you would like to be created. This is essentially selecting how many cells you would like to have in your final voronoi model. For a more dense voronoi, use more points. For this tutorial, I'll be generating 50 sample points. Leave all the other settings untouched, besides ticking the box for "Exact number of samples", then click Apply and Close.

This will generate and activate a new mesh layer, and you'll be able to vaguely see those 50 points scattered around the sphere.

Now we can use the sample points to generate a voronoi colour pattern on the sphere mesh.
To do this, first re select your sphere layer in the right hand panel by clicking on it. Then, go to Filters > Colour Creation and Processing > Voronoi Vertex Colouring. Click BackDistance, then Apply and Close. This will colour the sphere mesh according to the distance of each vertex from the sample points we created earlier, giving us the familiar voronoi pattern that we're after!

When MeshLab applies the colouring to the vertices in our sphere mesh, it also applies a property to each vertex called "quality". The quality value is directly related to the colouring - red vertices have a low quality and blue areas have a high quality. We'll be using this fact to our advantage in order to only select and keep the red areas.
To do this, use Filters > Selection > Select by Vertex Quality. Tick the preview box, and drag the Max Quality slider all the way to the right. Then, drag the Min Quality slider towards the left. How far you decide to go will determine what kind of shape your voronoi structure will have when complete:

When you're done with your selection, click Apply and then Close. Then, use Filters > Selection > Delete Selected Vertices. You'll be left with something somewhat similar to this - a jagged edged lattice structure with no thickness to it.

Lets deal with those jagged edges first. We can do this with a smoothing filter, found under Filters > Smoothing, Fairing and Deformation > Laplacian Smooth. Tick the preview box and play around with the number of smoothing steps to your liking. For this one, I decided to go with 50. You can see that as you increase the number of smoothing steps, not only does it smooth out those jagged edges, it also starts to round the corners between the lattice arms.

Now that it's smooth, we can finally turn it into a manifold mesh, ready to be printed. Yep, you guessed it, another filter. This time we're using Filters > Remeshing, Simplification and Reconstruction > Uniform Mesh Resampling.
As the name suggests, this filter creates a new mesh that is a resampled version of the current one. Tick the boxes for Clean Vertices, Multi-sample and Absolute Distance. The other two options we'll be playing with are the Precision and Offset settings.
Precision: This setting determines how detailed our offset mesh is. A higher value will mean fewer triangles and less detail. A lower value will create the offset mesh with more triangles and more detail, but this comes at the expense of a longer processing time. I usually use a value of 0.2-0.5 in the percentage box. This gives good detail while keeping the processing time to a reasonable 10-20 seconds.
Offset: This setting will change how thick the voronoi structure is, other words how much it is offset from our original surface. I've found that values of 53 to 55 in the percentage box work well.
When you're done, click apply and wait for it to process.

And there you have it! A beautiful voronoi mesh structure. If you'd like to make it look even more organic, you can apply another laplacian smooth filter to this offset mesh - Filters > Smoothing, Fairing and Deformation > Laplacian Smooth.

This time when you smooth, make sure that the cotangent weighting option is unchecked to avoid weird artifacts being created. Also keep in mind that for every smoothing step you do, more material is removed from the mesh every time. If you want a really smooth look without your voronoi structure becoming really thin, you can compensate for this by bumping up the offset value in the earlier Uniform Mesh Resampling step. In the image above, I used 80 smoothing steps.
Going Further
So that's the complete process for creating a voronoi sphere in MeshLab! To export it, simply make sure the offset mesh layer is selected and use File > Export Mesh As. Then you can slice it and print.
If you've stumbled across this guide however, the chances are that you're probably wanting to apply this effect to a specific model of choice. If that's the case, you're in luck! The steps outlined above can be applied to any mesh (STL file) of your choosing. At the beginning, instead of generating the sphere, you can use File > Import Mesh.
Coming soon, I will show you how to make a voronoi version of any model while also retaining specific areas of detail that may be needed for functionality - for example a drawer handle which still needs a socket for a screw to go through. If that's something that interests you, stay tuned for that! I'll see you in the next one.
More resources for you

E3D V6 Assembly Guide Poster
How To Create a Voronoi Sphere in MeshLab
1 comment
Hi all
Great instructions! I have tried a Voronoi design of a box, with flat sides, and it does not work. I may have to use other filters. Do you know how it could be solved?
Thanks in advance